

3·
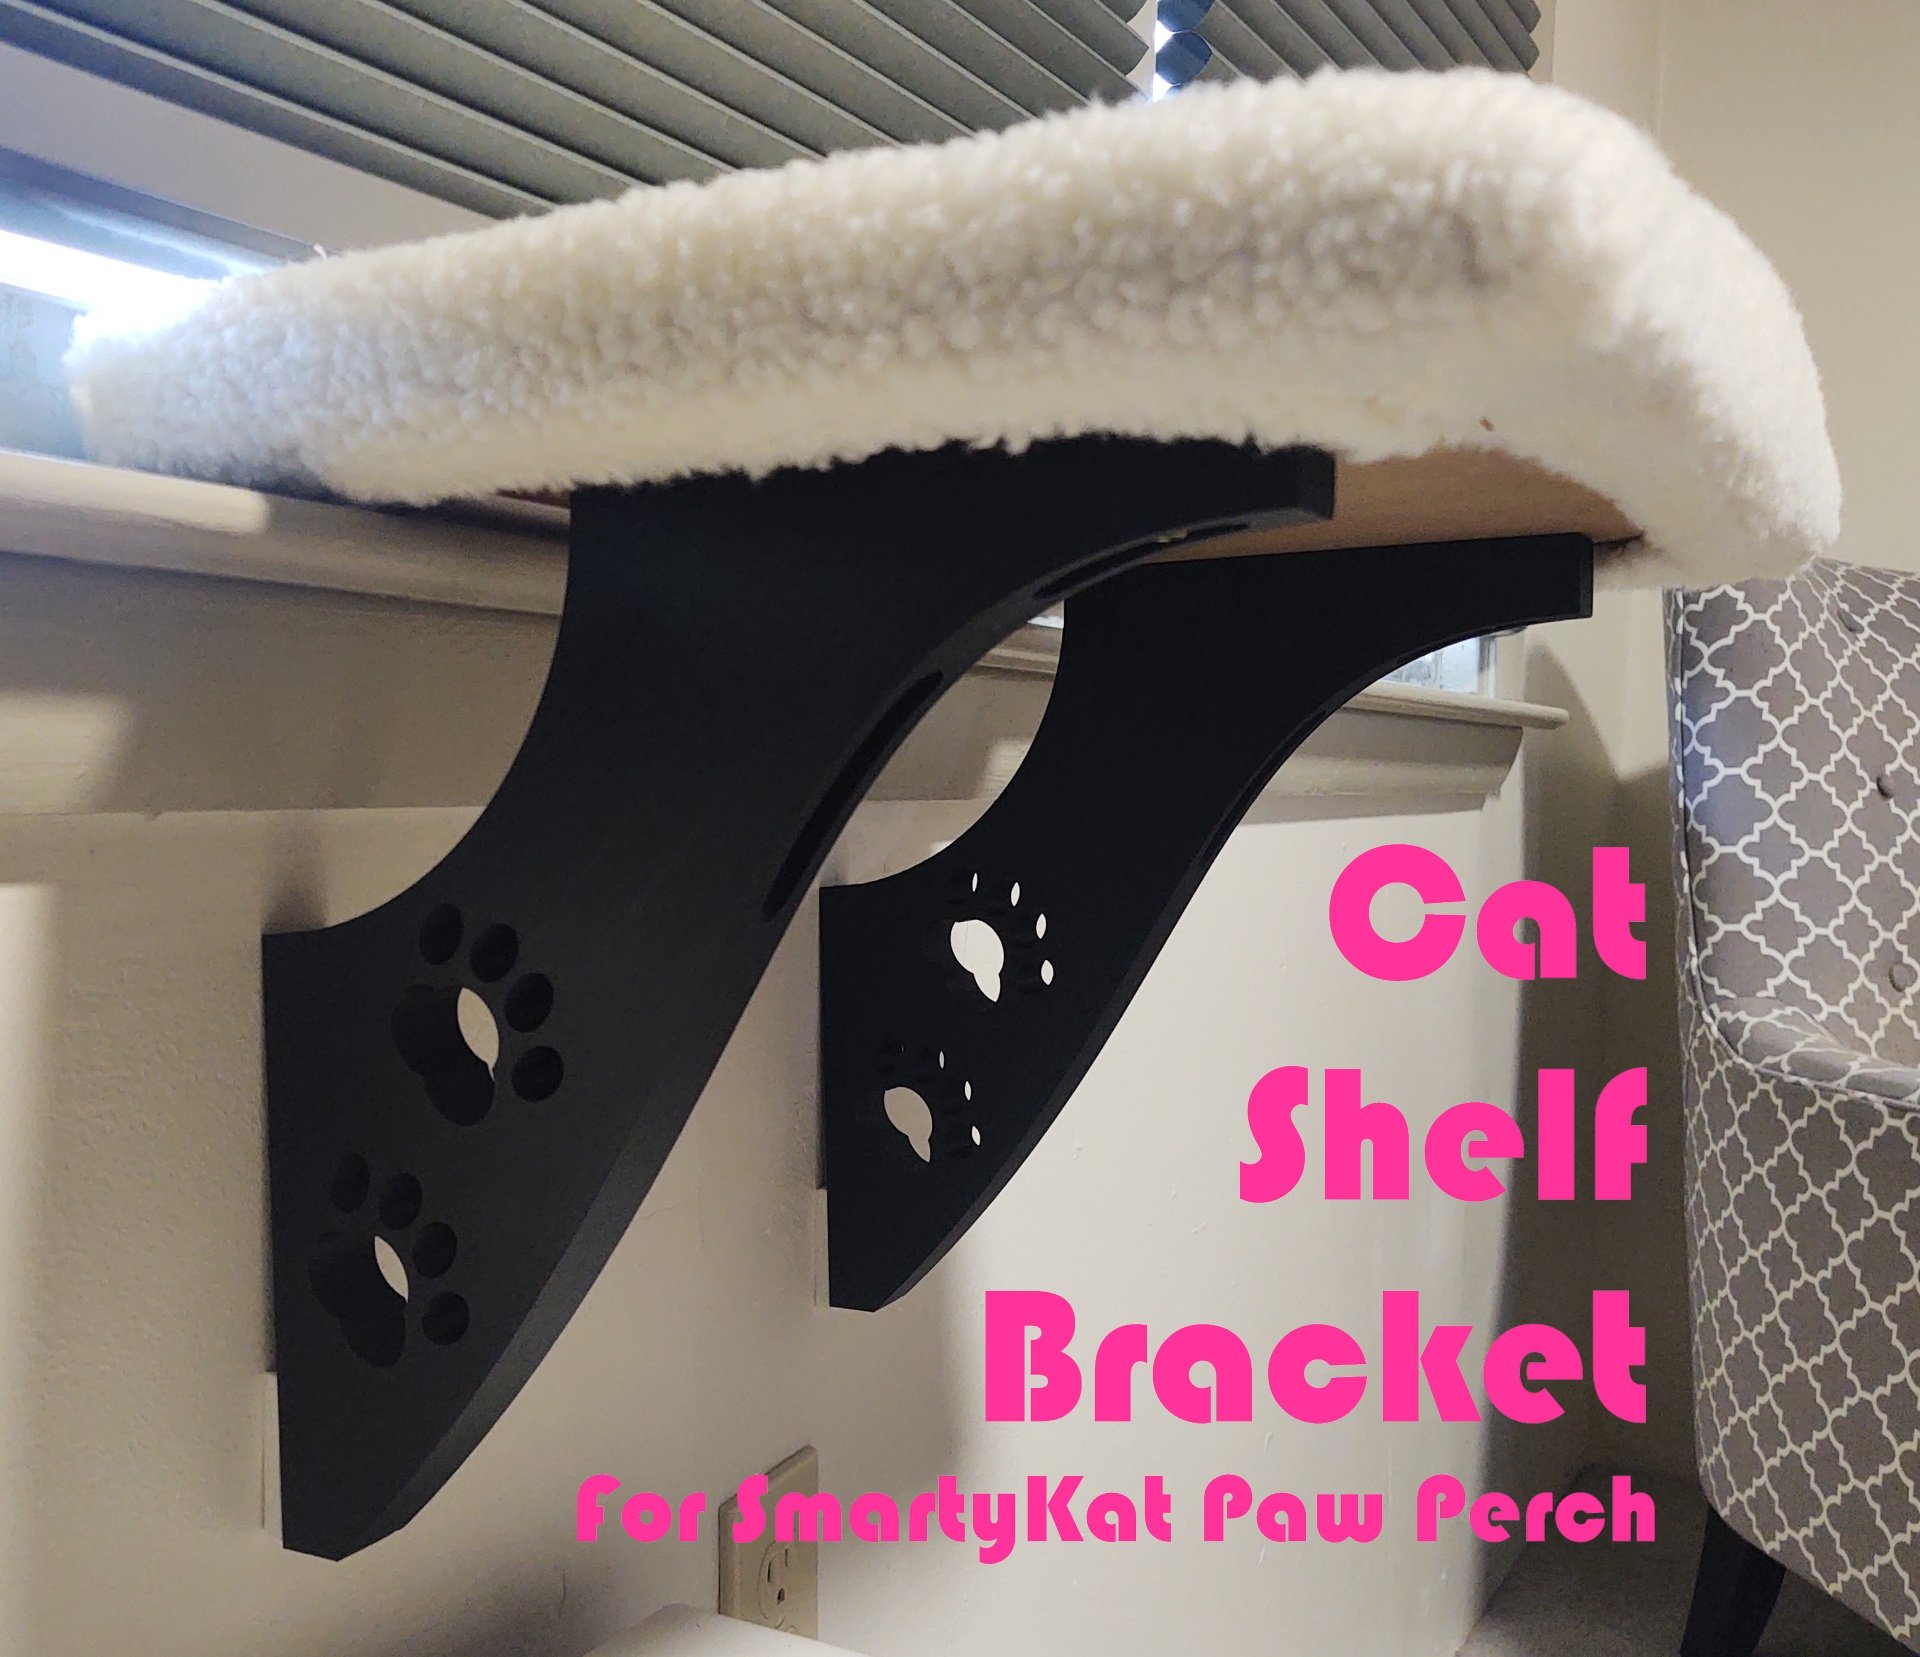
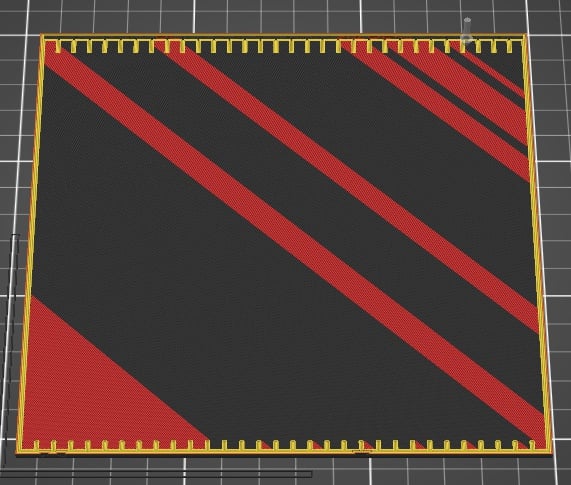
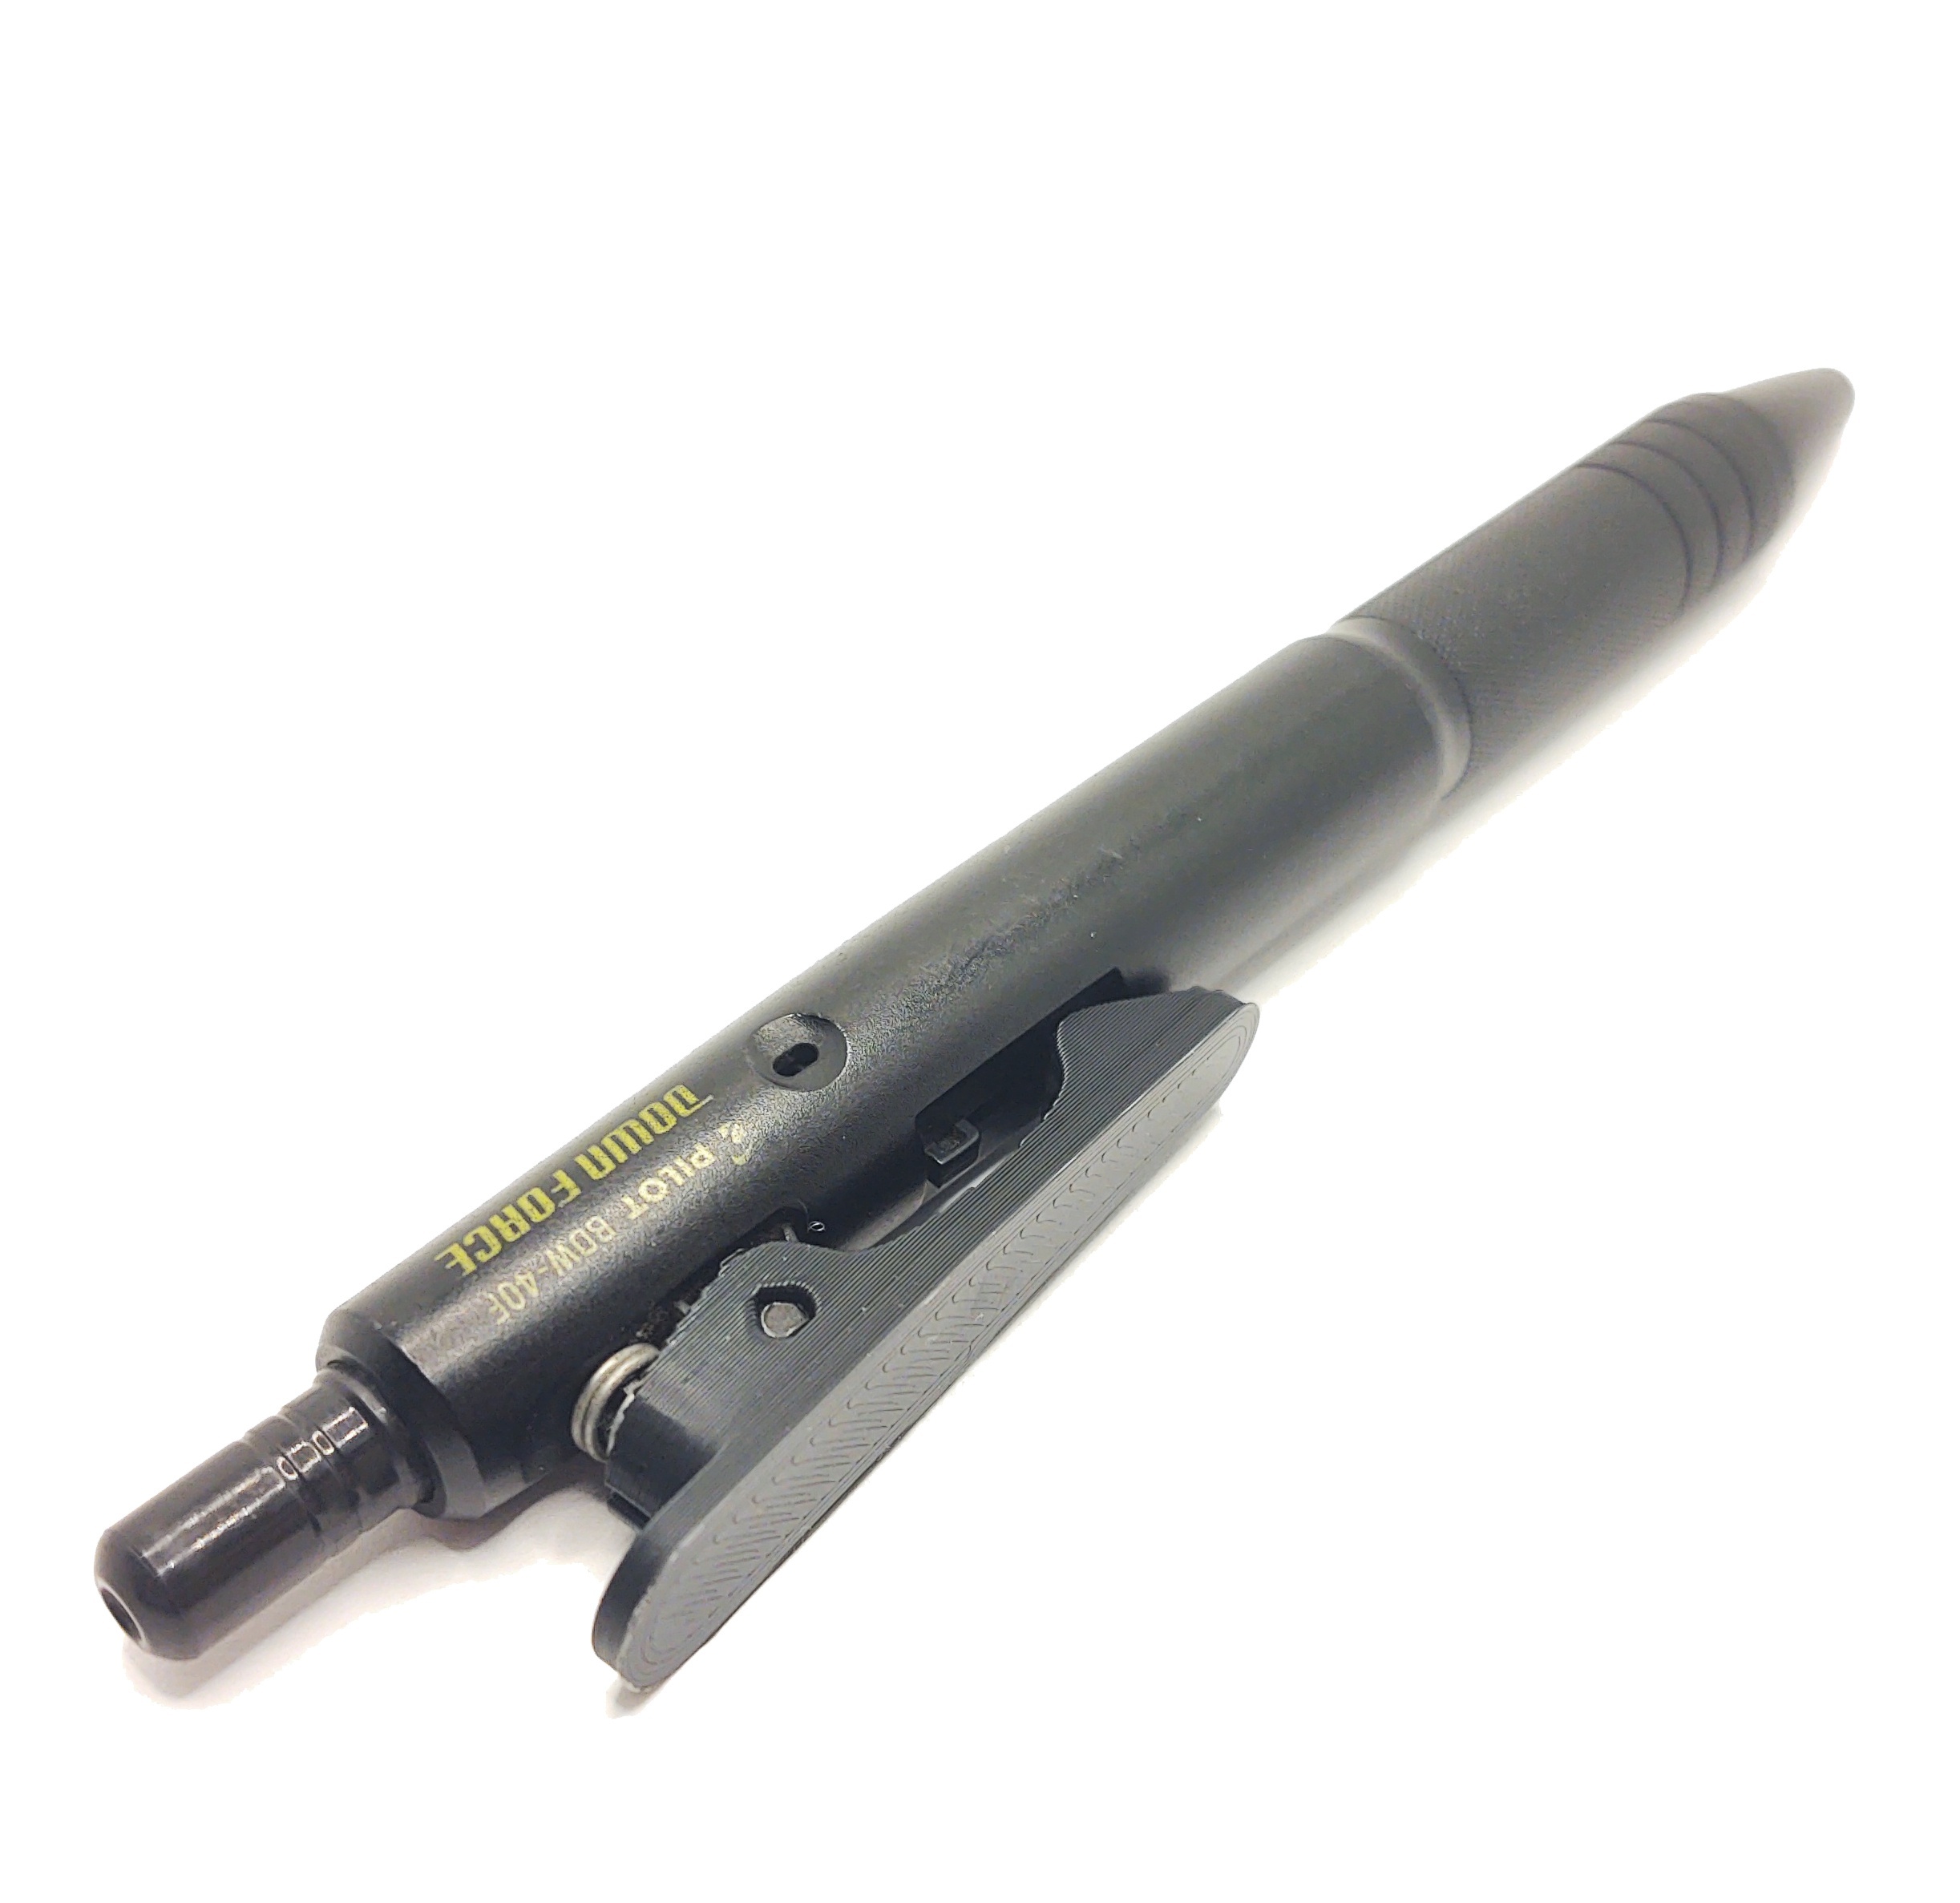
3 days agoDem overhangs, tho. Did you print this upside down, with the open end on the print bed? It looks quite good.
I think PETG is probably a good choice for this application. PLA, especially if it’s thin walled as I suspect it is here, will disintegrate pretty quickly with continued exposure to temperature variations, moisture, and sunlight.
ABS is infamously pretty vulnerable to UV, also. You could protect it (or any of the others, really) with a coat of paint.


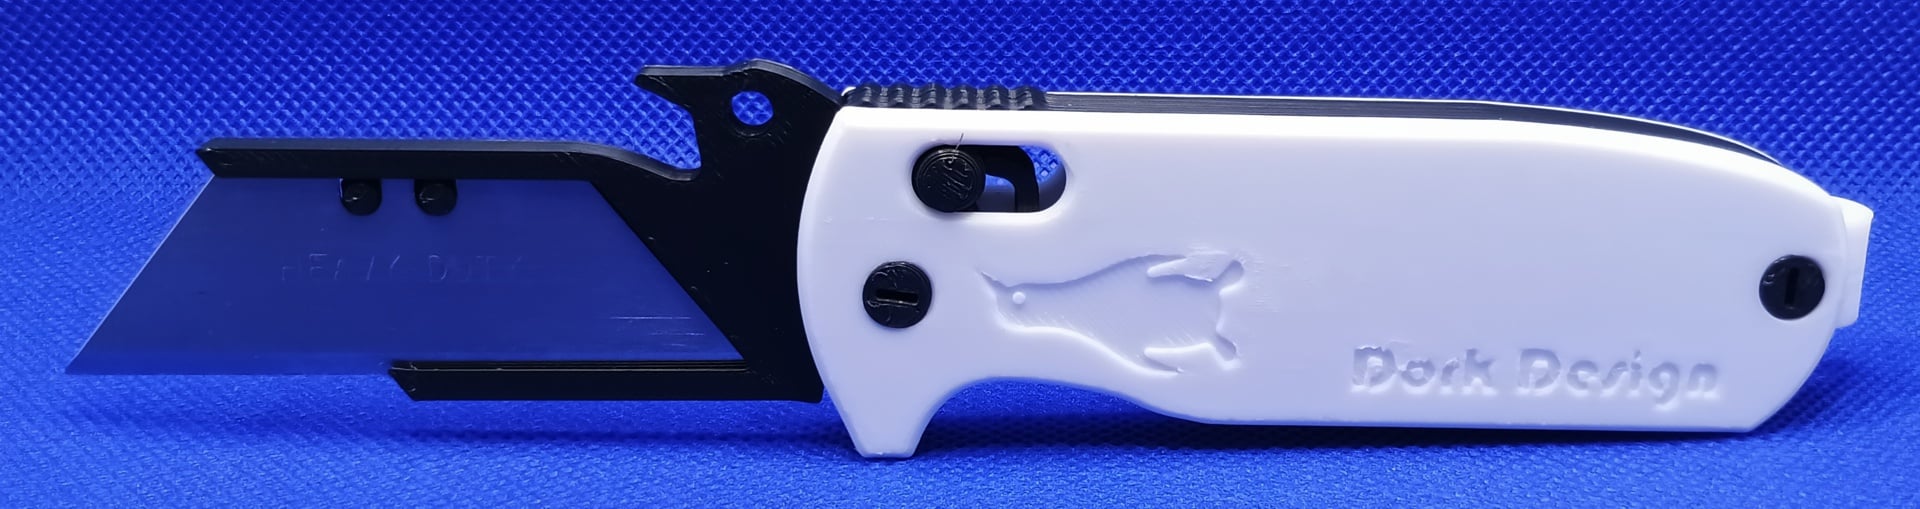
Ask the Filipinos, who are the ones who both invented and named it. “Butterfly knife” is a western neologism for it.